


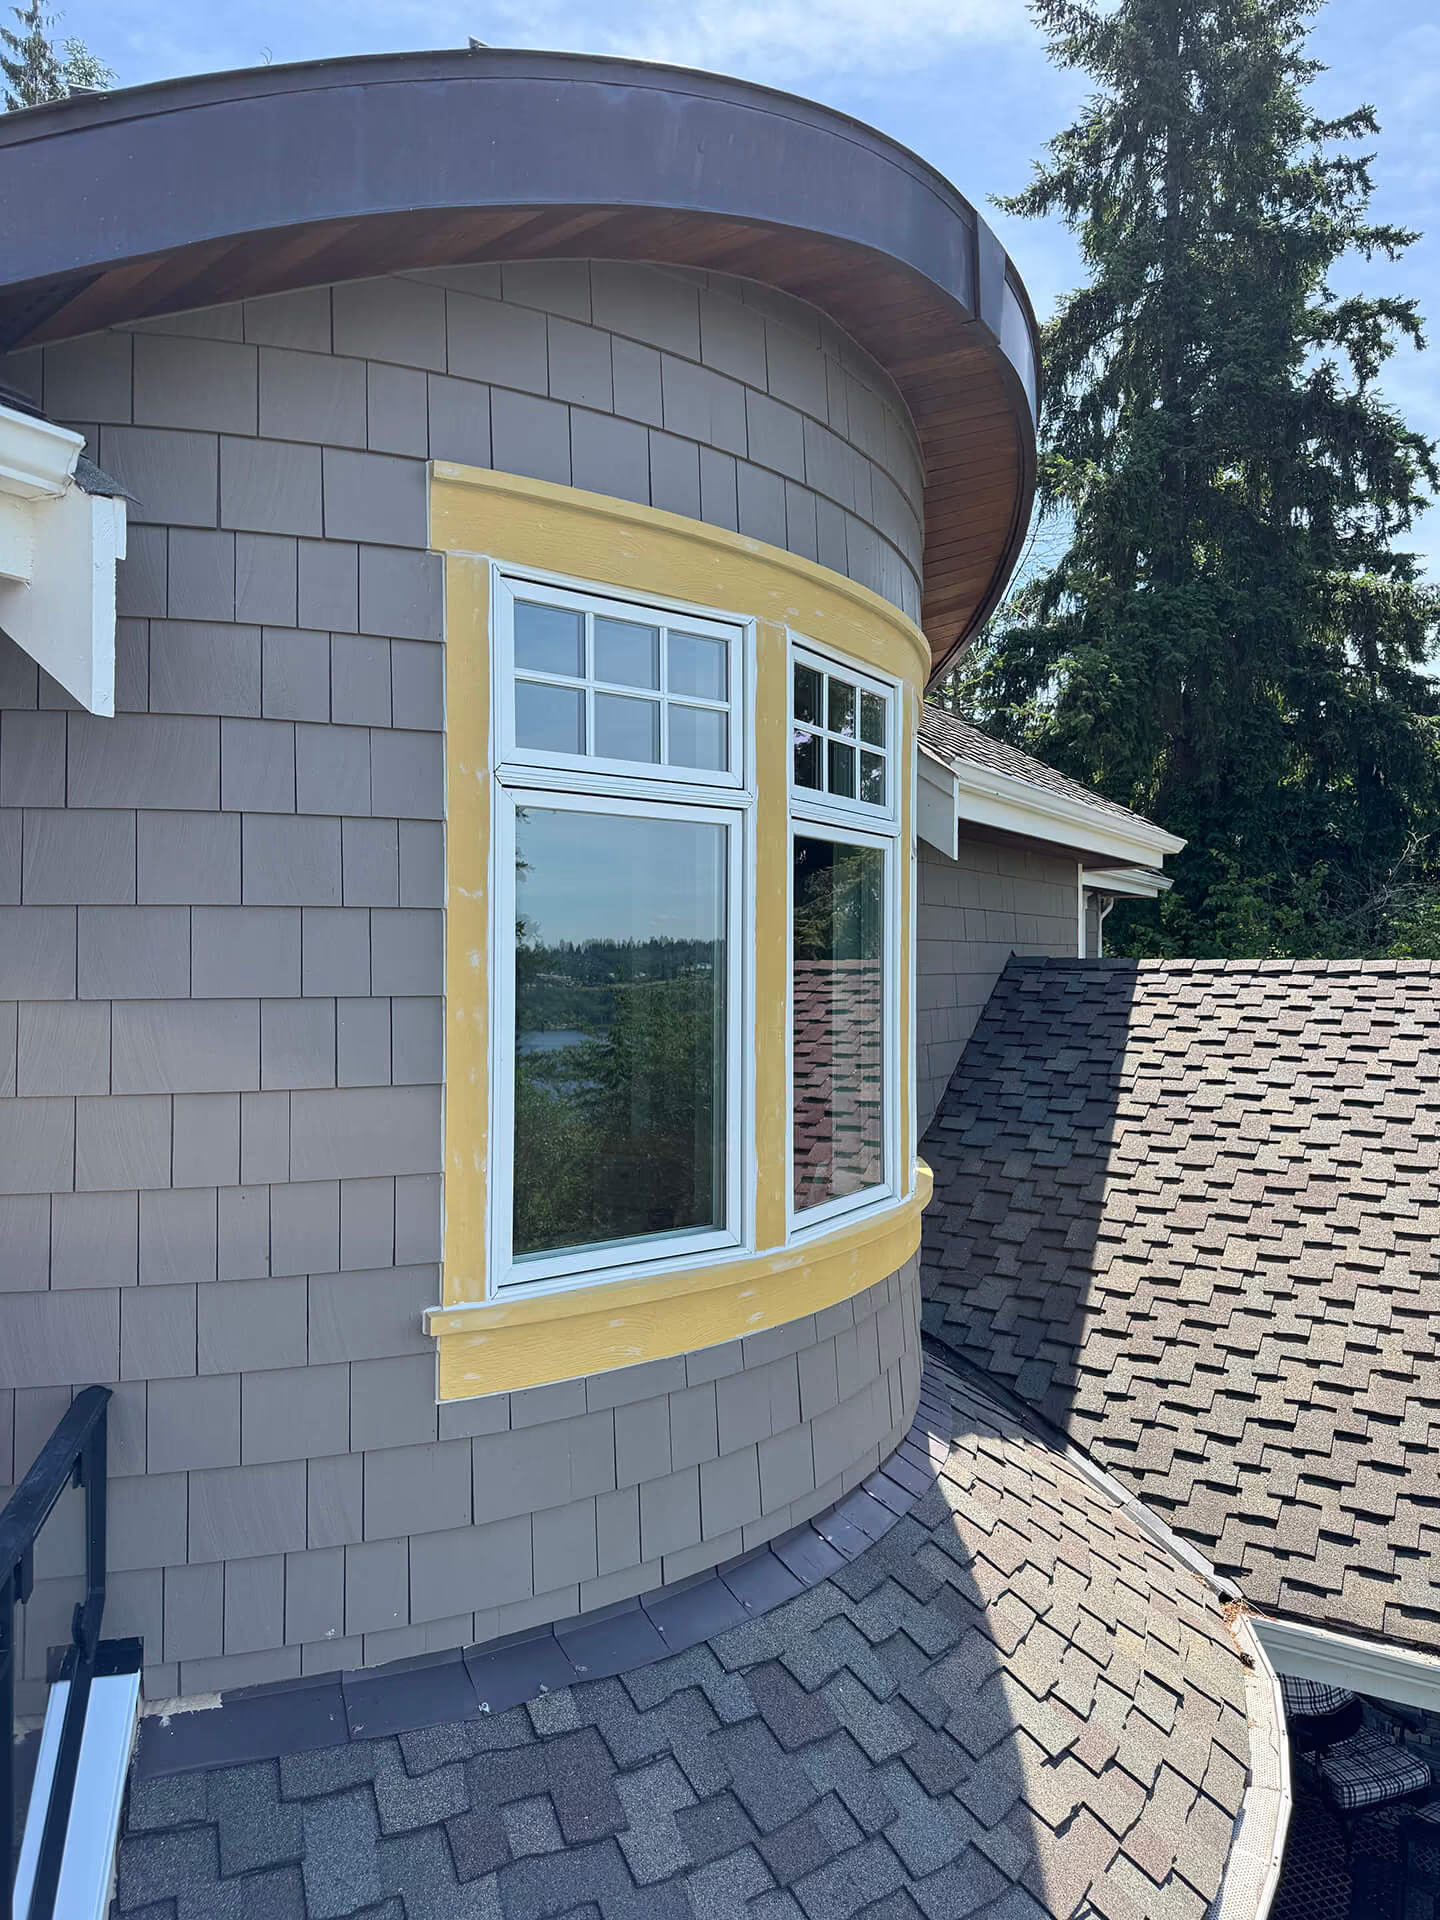
Window Replacement Process: What Seattle Homeowners Can Expect
Replacing windows is easier to plan when you understand what happens before, during, and after installation. The window replacement process normally includes an initial consultation, an assessment of the existing openings, product selection, precise measurements, ordering, scheduling, installation, cleanup, and a final review. The details change with the home, the selected windows, and whether the project uses a pocket or full-frame installation.
Cascade View Construction installs replacement windows in Seattle, Kirkland, Bellevue, and nearby Puget Sound communities. This guide explains the decisions homeowners should expect, the information an installer needs, how to prepare the house, and which details should be confirmed before the project begins.
1. Define the Goals and Scope of the Project
Start with the problems you want the project to solve. Common priorities include difficult operation, drafts, failed insulated glass, water damage, exterior maintenance, noise, ventilation, security, or an outdated appearance. Note which rooms are affected and whether every window should be replaced at once or the work should be completed in phases.
If fogging is the main symptom, first identify where the window condensation is forming before deciding between humidity control, glass or sash service, and full replacement.
It also helps to identify design constraints early. Consider interior trim, exterior siding, grille patterns, frame colors, privacy, egress needs, furniture placement, and the way each sash should open. Photos and examples from a local project gallery can make the first conversation more specific.
2. Schedule an On-Site Consultation
During the consultation, the installer should review the existing windows, listen to comfort and design concerns, and discuss the rooms included in the project. This is the time to disclose known leaks, previous repairs, difficult access, alarm sensors, unusual wall construction, or planned siding and interior remodeling.
A consultation is not the final installation measurement. It establishes the likely scope and gives the contractor enough information to recommend appropriate products and identify conditions that need closer review. Homeowners can start by requesting a free quote or scheduling an appointment.
3. Assess the Existing Window Openings
A replacement project should account for more than the visible sash. The surrounding frame, sill, trim, siding, flashing, sealants, interior finishes, and signs of moisture all affect the installation plan. Measurements should be taken at multiple points because older openings are not always square or uniform.
The assessment also helps distinguish a complete replacement project from isolated pane, sill, or sash repair. If damage extends into the surrounding wall, additional work may be required before a new unit can be installed and integrated correctly.
4. Choose Pocket or Full-Frame Replacement
The installation method affects product dimensions, visible glass area, trim work, labor, and the ability to inspect the opening.
Pocket Window Replacement
A pocket, insert, or retrofit installation places a new window inside a suitable existing frame. The original frame remains, so it must be structurally sound, reasonably square, and appropriate for the selected product. This method can reduce disruption and preserve some existing finishes, but the new unit fits inside the old frame and may slightly reduce the glass area.
Full-Frame Window Replacement
A full-frame installation removes the old window and frame to expose more of the rough opening. It is generally considered when the frame is damaged, the opening needs correction, the homeowner wants a different configuration, or the project requires more extensive flashing and trim work. Full-frame replacement usually involves a broader interior and exterior finish scope.
No single method is automatically best for every opening. The existing condition, wall assembly, product instructions, water-management details, and project goals should determine the approach. A flat-to-bay conversion requires a separate review of the opening, support, flashing, and permit scope; see our Kirkland bay-window conversion guide.
5. Select Window Material, Style, and Glass
Once the installation method is understood, the homeowner can compare materials and operating styles. Cascade View Construction installs vinyl replacement windows, fiberglass replacement windows, and wood replacement windows. Each category has different tradeoffs in frame strength, finish choices, maintenance, customization, and price.
Window style affects ventilation, cleaning, exterior clearance, and appearance. Common options include casement, awning, double-hung, single-hung, sliding, picture, bay, bow, and custom-shape windows. Glass choices may include different pane configurations, Low-E coatings, gas fills, spacers, privacy glass, and safety glazing where required.
Compare the NFRC ratings for the exact product configuration rather than assuming one frame material is always more efficient. Our replacement windows overview explains the main categories, while the vinyl vs. fiberglass and vinyl vs. wood guides provide more detailed material comparisons.
6. Review the Written Proposal
A useful proposal should identify the products and the installation scope clearly enough to compare options. Review the following before approving the order:
Use our questions to ask a window replacement contractor to verify registration, lead-safe credentials, product ratings, permits, warranties, and change-order terms before accepting a bid.
Price should be evaluated together with scope. The Seattle window replacement cost guide explains the product, labor, access, trim, and opening conditions that can change a quote.
Before products are ordered, confirm who will verify permits and code requirements. Our Washington window replacement permit guide explains how statewide rules and local Seattle and Kirkland requirements can affect the scope.
7. Complete Final Measurements and Ordering
After the product and scope are approved, final measurements and specifications should be confirmed before the order is released. Made-to-order windows cannot be treated like approximate framing materials; dimensions, handing, operation, glass, finish, and accessories must match the approved schedule.
Manufacturing lead times vary by series, configuration, finish, season, and product availability. Installation is normally scheduled after the products are received and checked. A contractor should communicate material delays or visible shipping damage before work begins.
8. Prepare the Home for Installation Day
Good preparation gives the crew safer access and helps protect belongings. Confirm the contractor’s requirements, then use this checklist:
If only some windows are included, mark the approved openings or review them with the crew at the start of the day.
9. Address Older-Home and Lead-Safe Requirements
Window removal can disturb painted surfaces. For homes built before 1978, federal Renovation, Repair and Painting requirements may apply when lead-based paint is present or has not been ruled out through an allowed determination. The EPA specifically identifies window replacement as work that can create hazardous lead dust.
Before work begins, tell the contractor the age of the home and ask how lead-safe requirements will be handled. Homeowners can review the EPA’s RRP information for consumers. This issue should be resolved during planning, not after demolition starts.
10. Protect the Work Area and Remove the Old Window
On installation day, the crew should confirm the approved windows and sequence of work. Floors, nearby surfaces, and access paths are protected as required for the project. The old sash, stops, trim, frame components, or complete unit are then removed according to the selected installation method.
Removal should be controlled to limit damage outside the agreed scope. The opening is cleaned so the installer can inspect the sill, framing, and surrounding materials that were hidden by the old window.
11. Inspect and Prepare the Opening
Once the old unit is out, the installer checks the exposed opening for rot, moisture damage, failed sealants, irregular framing, and other conditions that could affect the new window. Minor preparation may be part of the installation scope; significant concealed damage may require a documented change before work continues.
The opening is prepared according to the product instructions and wall conditions. Depending on the assembly, this can include correcting the sill, adding or integrating flashing materials, and establishing a suitable drainage path. The goal is to manage exterior water while maintaining interior air sealing.
12. Set, Secure, Insulate, and Seal the New Window
The new unit is placed in the opening, checked for level, plumb, square, and even reveal, then fastened according to the manufacturer’s requirements. Installers verify that operable sashes move correctly before the opening is fully finished.
Gaps around the unit are insulated and air sealed with materials compatible with the product and installation method. Exterior flashing and sealants are completed as required, while interior and exterior trim are installed or restored according to the proposal. A high-performance window still depends on correct integration with the surrounding wall.
13. Test Operation and Review Finish Details
Before the work area is closed out, each installed window should be operated and inspected. The review can include:
Any concern is easier to document while the crew and project information are still available.
14. Cleanup, Documentation, and Care
The final stage includes removing installation debris and old units as specified, cleaning the immediate work areas, and completing a homeowner walkthrough. Save product labels, the approved proposal, change orders, warranty documents, and care instructions in one place.
Ask how to operate, lock, clean, and remove screens from the new windows. Wood interiors, hardware, tracks, drainage paths, and sealants may have different maintenance needs. Product documentation should govern care rather than generic cleaning advice.
How Long Does Window Replacement Take?
There is no universal per-window schedule. Timing depends on the number and size of units, pocket versus full-frame installation, bay or bow construction, access, trim work, concealed damage, lead-safe procedures, weather, and whether other trades are involved. A straightforward group of pocket replacements may be completed in a day, while complex full-frame work can require a longer sequence.
The written proposal and pre-installation conversation should set expectations for crew arrival, daily access, weather decisions, and how unfinished openings will be protected.
Window Replacement Process FAQs
Do installers work from inside or outside?
Most projects require access to both sides of the opening. The exact sequence depends on the window style, wall construction, exterior access, and installation method.
Do I need to leave the house during installation?
Usually homeowners can remain in the home if they stay outside active work areas, but project conditions differ. Confirm access, noise, dust-control, pets, children, and any work-from-home needs before installation day.
Can windows be replaced during rainy or cold weather?
Replacement can be scheduled in different seasons, but wind, heavy rain, temperature-sensitive sealants, and safe exterior access can affect the plan. The installer should explain weather limits and how each open wall area will be protected.
What happens if damage is found after removal?
The installer should document the condition, explain the repair needed, and obtain approval for work outside the original scope. Covering significant rot or moisture damage without addressing it can compromise the new installation.
Will the existing trim be reused?
That depends on the installation method, trim condition, product dimensions, and proposal. Pocket installation may preserve more existing finish; full-frame replacement normally involves broader interior and exterior trim work.
What happens to the old windows?
Removal and disposal should be defined in the quote. Ask whether old units, glass, packaging, and job debris are hauled away and whether any homeowner-retained parts must be identified in advance.
Plan a Window Replacement Project With Cascade View
Cascade View Construction serves homeowners throughout the Greater Seattle area. Review our local pages for Seattle window replacement and Bellevue window replacement, or browse the complete service area list.
To discuss your windows, call (425) 540-7069, request a free consultation, or book an appointment. The project scope and schedule will be based on the measured openings, selected products, installation method, and actual site conditions.